Making an Ubuntu Bootable USB on macOS
Creating an Ubuntu bootable USB on macOS, including the disk verification and unmount steps required before using dd.
This is the process I used to create a bootable USB while installing Ubuntu on an LG Gram laptop. dd destroys the target disk if you point it at the wrong device. Confirm that the target is really the USB before running any command below.
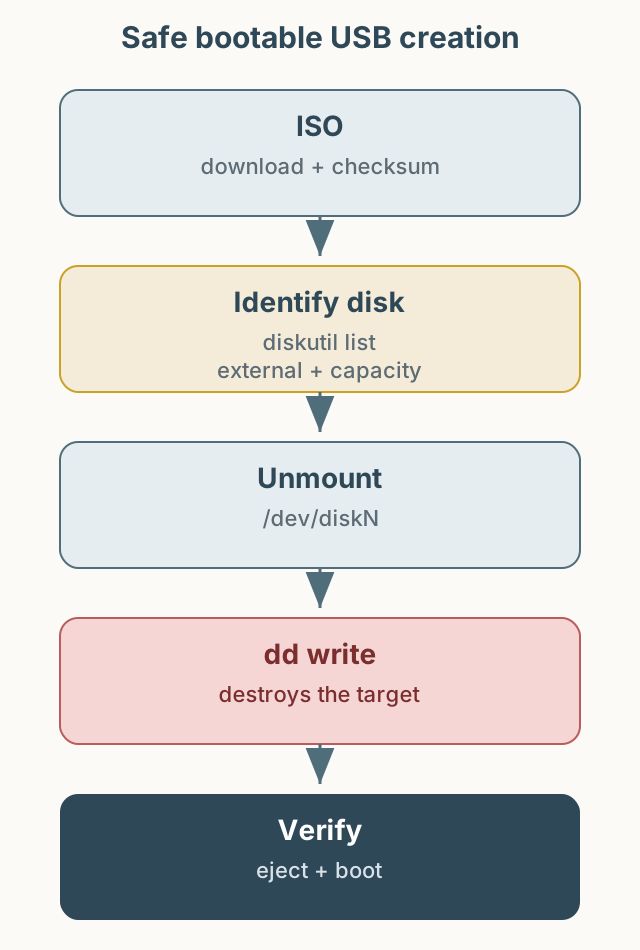
Figure 1. A safe order: verify the disk and unmount it before writing.
What you need
- Ubuntu Desktop or Server ISO (download)
- A USB drive of at least 4GB
Disk Utility,diskutil, andddon macOS
Format and convert the ISO
Format the USB as MS-DOS(FAT32) in Disk Utility. Then convert the ISO to UDRW in the terminal.
1
2
hdiutil convert -format UDRW -o ubuntu.img ubuntu.iso
mv ubuntu.img.dmg ubuntu.img
hdiutil convert appends .dmg, so rename the output to the name used by dd. Keep the original ISO as a backup.
Identify the target disk
This is the most important step. Use diskutil list to see all disks and the USB identifier.
1
diskutil list
A USB drive is usually marked external, physical. Check the capacity and name together. Never choose an internal disk such as /dev/disk0. The /dev/diskN below must be replaced with the real value; do not copy it literally.
1
diskutil unmountDisk /dev/diskN
If unmounting fails with Resource busy, find out which process is using the disk. If necessary, use diskutil unmountDisk force /dev/diskN; if it still fails, rebooting is safer.
Write with dd
Confirm once more that the target is the USB, then write.
1
sudo dd if=./ubuntu.img of=/dev/rdiskN bs=4m
On macOS, the raw device /dev/rdiskN can be faster. Adjust bs for your environment. Wait until writing finishes and do not unplug the USB in the middle.
Finish and verify
1
diskutil eject /dev/diskN
diskutil list should show the changed partition layout. If possible, boot the target laptop and confirm the installer starts. If it does not, check the ISO integrity, the USB drive, and secure boot settings in that order.
This article does not assume a disk number. Never run the dd command without verifying the target, and never use it on a disk that contains data you need.