Mounting NAS Volumes on Ubuntu (NFS and SMB)
Mounting NAS shares over NFS or SMB on Ubuntu, with protected SMB credentials and correct fstab entries.
This article explains how to mount NAS shared folders on an Ubuntu server. NFS and SMB are configured differently, so choose one protocol and follow only that section. The IPs and paths below are examples and must be replaced with your own values.
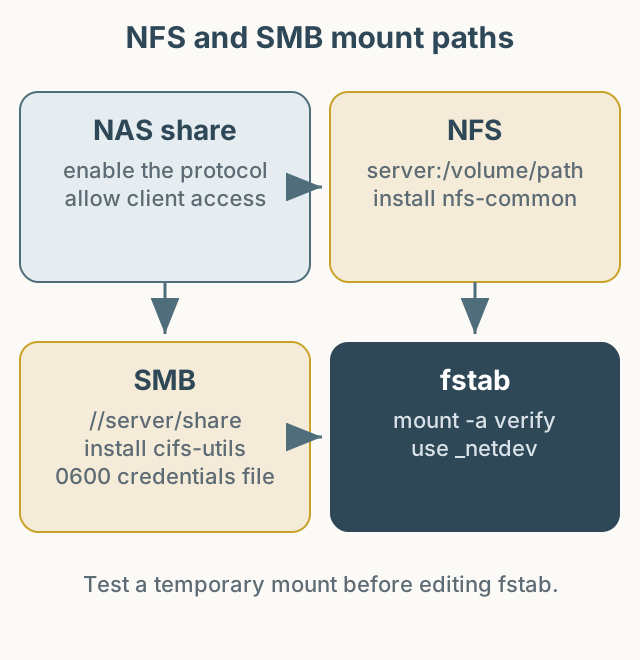
Figure 1. Configure NFS or SMB, verify with a temporary mount, then add automatic mounting.
NFS
Enable the NFS service on the NAS and add the client server’s IP to the shared folder’s NFS permissions. Prefer a specific IP and avoid giving write access to everyone.
Ubuntu needs nfs-common.
1
2
3
sudo apt update
sudo apt install nfs-common
sudo mkdir -p /mnt/nas-nfs
Test with a temporary mount first. 192.0.2.10 is a documentation address.
1
2
sudo mount -t nfs 192.0.2.10:/volume1/shared /mnt/nas-nfs
findmnt /mnt/nas-nfs
After confirming it works, add it to /etc/fstab.
192.0.2.10:/volume1/shared /mnt/nas-nfs nfs defaults,_netdev 0 0
_netdev tells the system to mount after the network is ready. Run sudo mount -a to validate the entry, and fix the file immediately if it reports an error.
SMB
SMB needs cifs-utils.
1
2
3
sudo apt update
sudo apt install cifs-utils
sudo mkdir -p /mnt/nas-smb
Test a temporary mount first. Writing a password directly in the command line can leave it in shell history and the process list, so use a credentials file.
1
2
3
4
5
6
sudo mkdir -p /etc/samba
sudo install -m 600 /dev/null /etc/samba/credentials-nas
sudo tee /etc/samba/credentials-nas >/dev/null <<'EOF'
username=your_user
password=your_password
EOF
The file should be owned by root with mode 0600.
1
2
3
4
sudo chown root:root /etc/samba/credentials-nas
sudo chmod 600 /etc/samba/credentials-nas
sudo mount -t cifs //192.0.2.10/shared /mnt/nas-smb \
  -o credentials=/etc/samba/credentials-nas,iocharset=utf8,uid=1000,gid=1000,file_mode=0775,dir_mode=0775
An SMB path uses //server/share. It is not the NFS form server:/volume/path; do not mix them. Replace uid and gid with the local user’s values.
Add the automatic mount to /etc/fstab.
//192.0.2.10/shared /mnt/nas-smb cifs credentials=/etc/samba/credentials-nas,iocharset=utf8,uid=1000,gid=1000,file_mode=0775,dir_mode=0775,_netdev 0 0
Putting password= directly in fstab exposes it to anyone who can read the file. That is why the credentials file is preferred. Validate with mount -a, then reboot to confirm automatic mounting.
Unmounting and troubleshooting
1
2
sudo umount /mnt/nas-nfs
sudo umount /mnt/nas-smb
If a mount fails, check:
- Is the protocol service enabled on the NAS?
- Is the client IP allowed on the NAS?
- Does
showmount -e <NAS_IP>(NFS) orsmbclient -L //<NAS_IP>(SMB) list the share? - Are the required ports open in the firewall?
- Is the credentials file mode
0600?
If you use only one protocol, do not add the other section’s configuration. When using both, keep mount points and fstab entries clearly separated.